Sorting (Filtering) Video
Now that you’ve marked some video, you can easily filter the source library so that you
see only the best or worst selections.
To filter the video source library for favorite or rejected clips:
m
Choose one of the following from the Show pop-up menu below the Event Library.
 Favorites Only: Shows only the video that you’ve marked as favorite.
 Favorites and Unmarked: Shows all the video that you’ve marked as favorite or left
unmarked. (This is the default view.)
 All Clips: Shows all the clips in the selected Event.
 Rejected Only: Shows only the clips you’ve marked for deletion.
By choosing Rejected Only, you can preview the clips you’ve rejected before you
delete them.
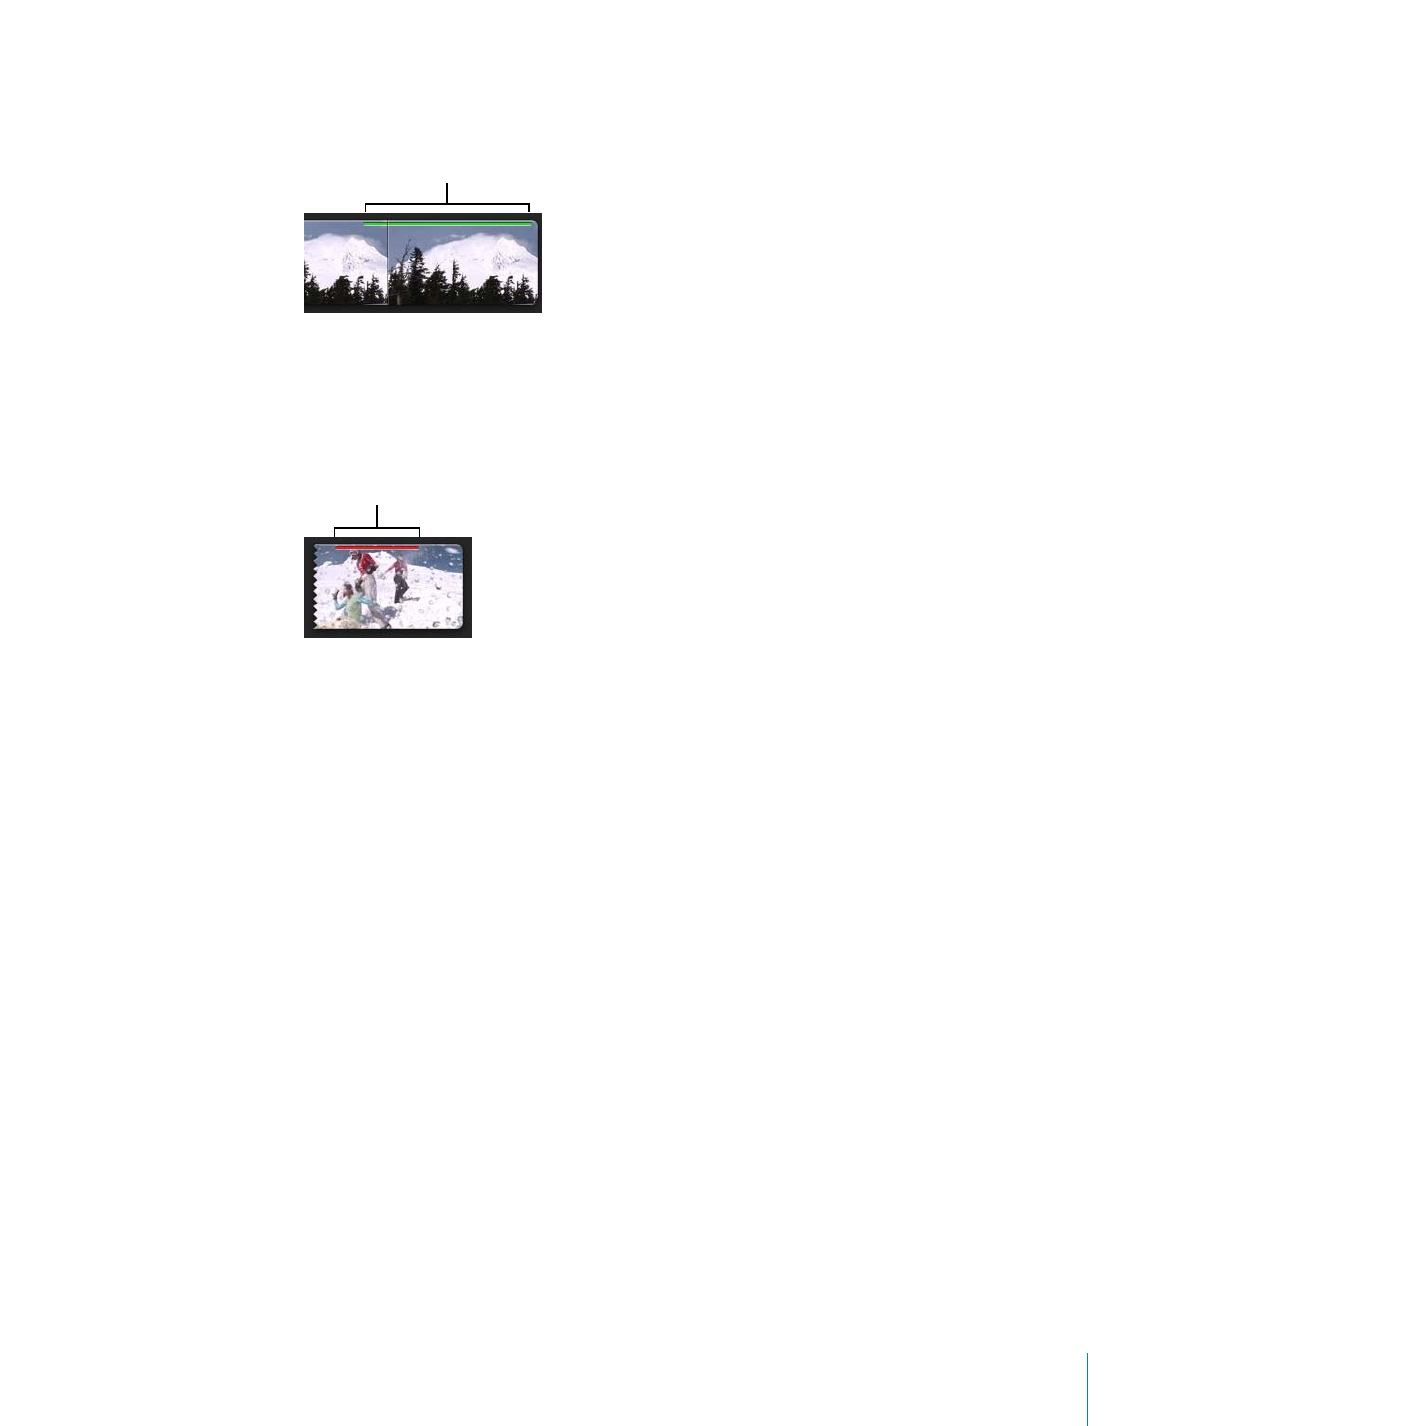
A green bar indicates
the range is marked
as a favorite.
A red bar indicates
the range is marked
for deletion (rejected).

28
Chapter 2
Learn iMovie
To delete rejected clips:
1
Choose View > Rejected Only, or choose Rejected Only from the Show pop-up menu.
2
Click “Move to Trash” in the upper-right corner above the rejected clips.
If you want to regain the disk space occupied by the video you’ve deleted, you must
empty the Trash on your computer.
To regain disk space from deleted clips:
m
Click the desktop to activate the Finder, and then choose Finder > Empty Trash.
Favorites and Unmarked View
As you’re working in iMovie, you may find it easier to show only the video you’ve
marked as a favorite or left unmarked. To do this, return to the default view.
In this view, any video you reject disappears immediately from the view. To see it again,
choose Rejected from the Show pop-up menu.
To restore the default view (Favorites and Unmarked), do one of the following:
m
Press Command (x)-L.
m
Choose “Favorites and Unmarked” from the Show pop-up menu.
m
Choose View > “Favorites and Unmarked.”
m
If you’re in Rejected Only view, click Hide Rejected in the upper right-hand corner of
the Event browser.