
Adding Photos with Motion Effects
To give your movies some variety, you can add photos from your iPhoto library.
Still images come to life when you use the Ken Burns pan and zoom effects by making
it appear that the camera is sweeping across the still image while moving closer or
farther away from it.
To add a photo:
1
Choose Window > Photos, or click the Photos button in the iMovie toolbar.
2
In the Photos pane, find the one you want.
You can use the search field at the bottom of the pane to find a photo by name.
3
Drag the photo to wherever you want it to appear in your project.
By default, iMovie sets a photo’s duration to four seconds and applies the Ken Burns
effect. Depending on how you’ve set your project thumbnail slider, the photo may
“unroll” like a filmstrip.
4
To change the length of time the photo will appear in your project, click the Duration
button in the lower-left corner of the photo clip (it appears when you let the pointer
hover near the end of the clip), and type how many seconds you want the photo to
stay onscreen in your movie.
If you don’t like the way the Ken Burns effect was added to your photo, you can change
it or remove it.
44
Chapter 2
Learn iMovie
To change the Ken Burns effect:
1
Select the photo in your project, and then click the Crop button in the iMovie toolbar.
2
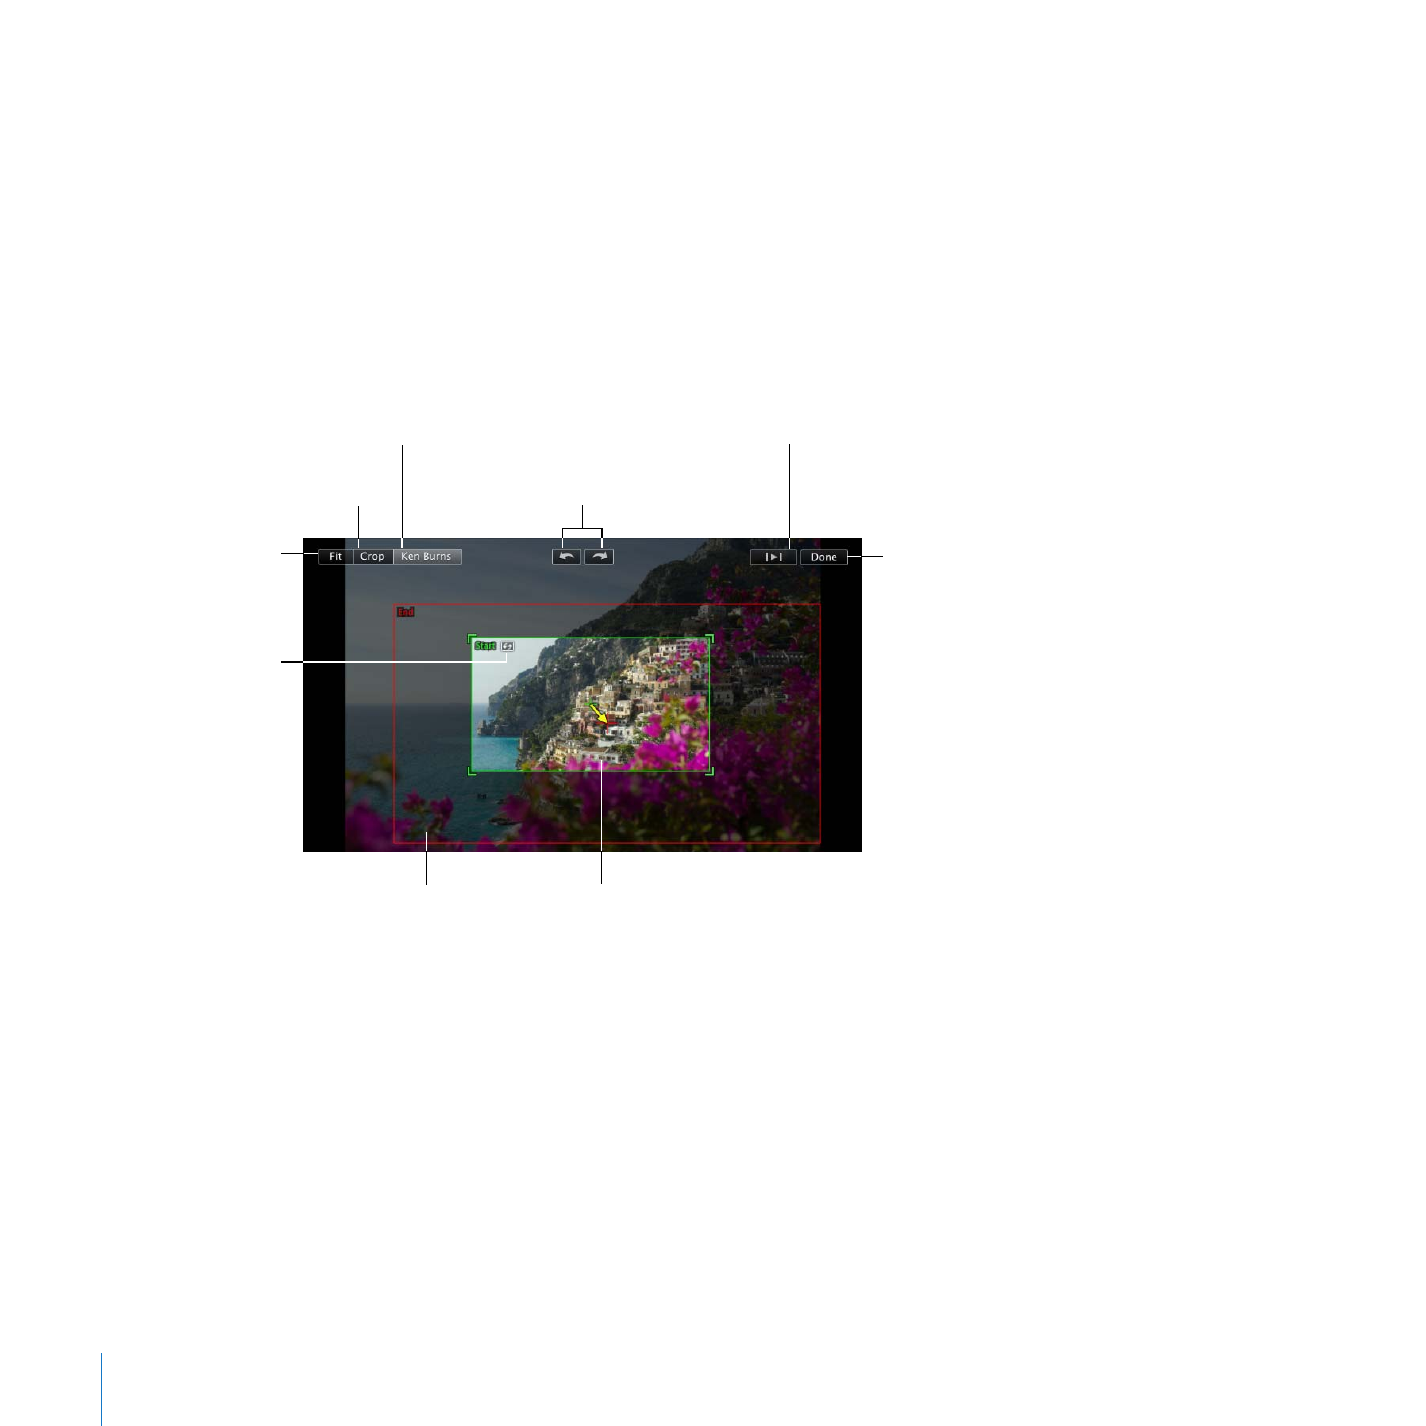
In the viewer, click Ken Burns.
Two crop rectangles appear in the viewer. The green crop rectangle indicates the
startpoint of the Ken Burns effect and the red crop rectangle indicates the endpoint of
the Ken Burns effect. You can quickly exchange the positions of the red and green crop
rectangles by clicking the small button with two arrows inside the selected crop
rectangle.
3
Drag to resize and reposition the green crop rectangle until it highlights where you
want the Ken Burns effect to begin.
4
Drag to resize and reposition the red crop rectangle until it highlights the final position
for the Ken Burns effect.
The crop rectangles always retain the aspect ratio that you’ve chosen for your project.
5
To preview your work, click the Play button.
Drag and resize the red
crop rectangle to set the
end position.
Click to rotate
the entire image.
Click to crop the image
with no motion effects.
Click to restore the
image to full frame
with no motion effects.
Drag and resize the
green crop rectangle to
set the start position.
Click to create or change
the Ken Burns effect.
Click when
you’re done.
Click to preview
your work.
Click to switch
the places of
the startpoints
and endpoints.
Chapter 2
Learn iMovie
45
6
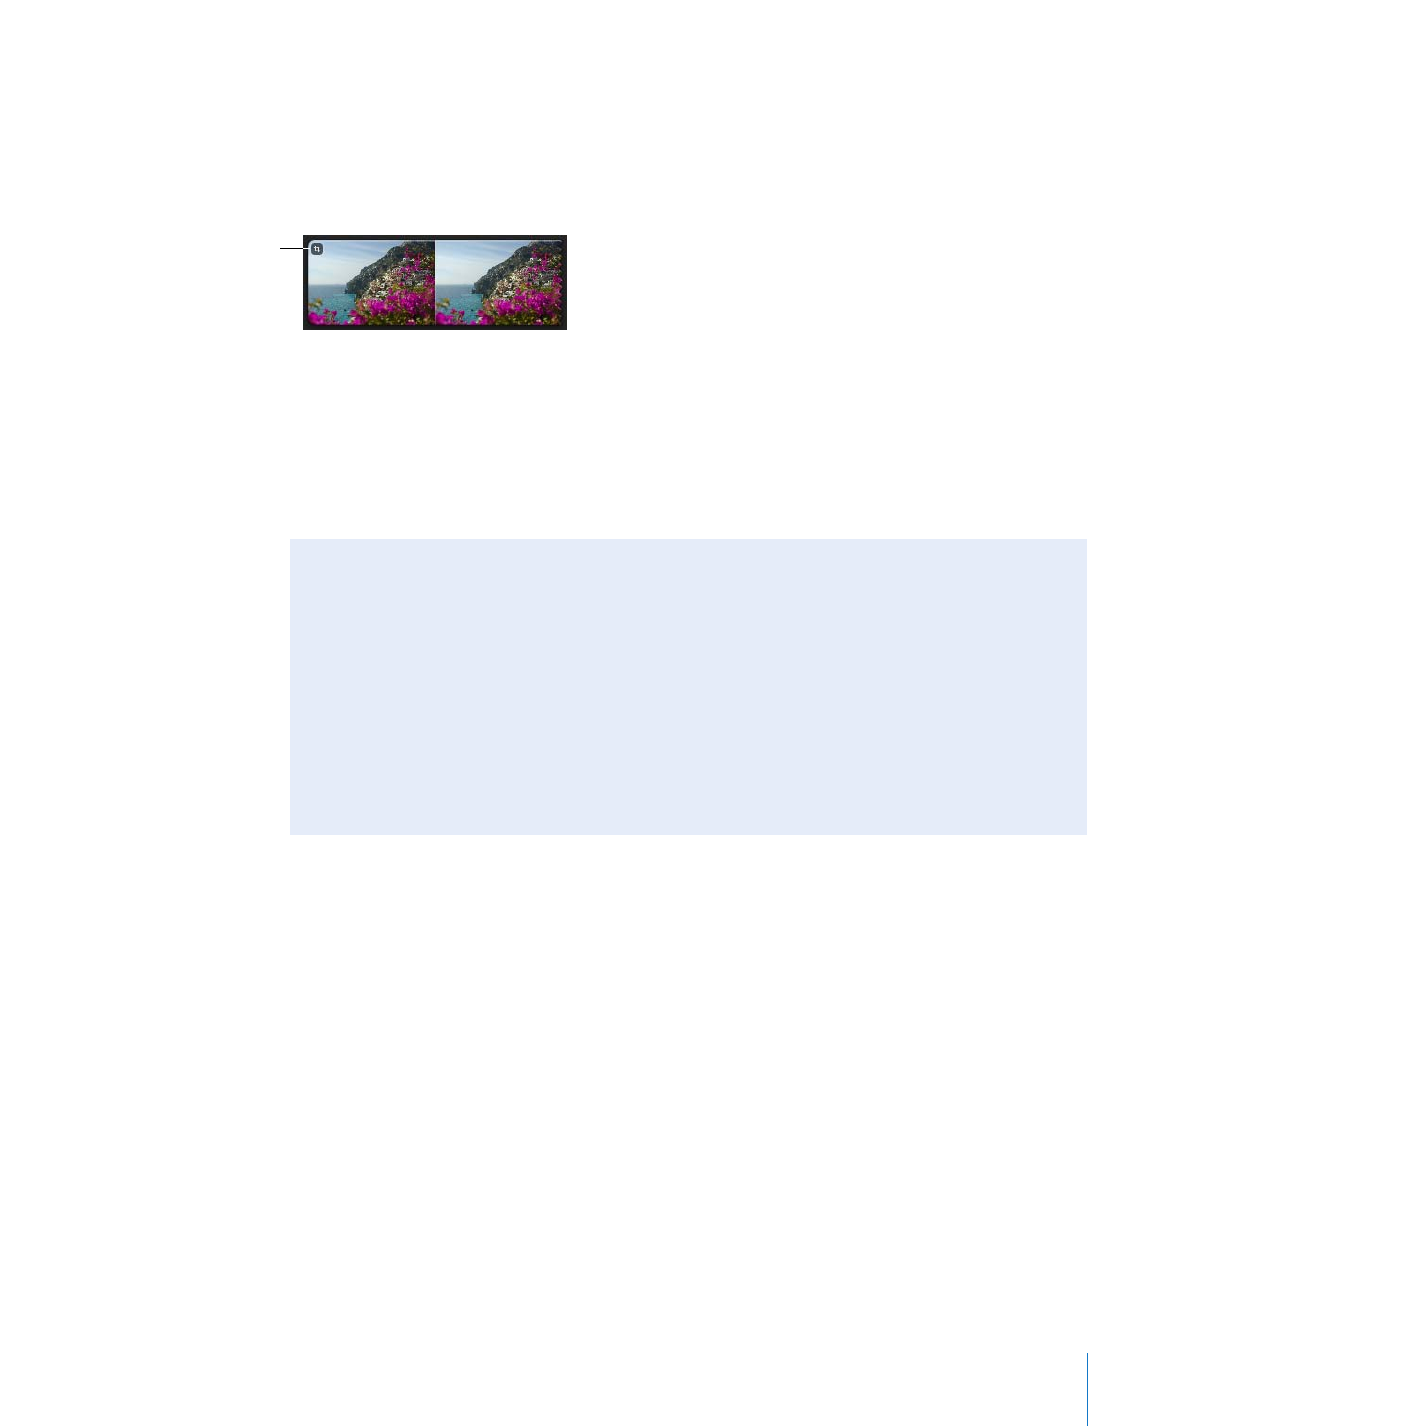
When you like the way it looks, click Done.
You’ll see a crop icon at the beginning of the clip. The same crop icon represents a clip
that has been simply cropped or rotated, or to which the Ken Burns effect has been
added.
Click the crop icon to change or remove the crop at any time. You can remove the Ken
Burns effect and restore your video to the original size at any time by opening the crop
editor and clicking Fit.
You can also rotate an image in iMovie. To learn how, search for topics about rotating
images in iMovie Help.