
Trimming Unwanted Frames from Your Project Clips
It’s easy to remove excess frames from the ends of a video clip in your iMovie project or
restore them to your project at any time.
To trim a video clip:
m
Select the frames you want to keep, and then choose Edit > “Trim to Selection.”
The unwanted frames are removed.
If you change your mind, you can restore the trimmed frames at any time by adjusting
the clip’s duration (or frame range) in your project.
Chapter 2
Learn iMovie
37
To adjust clip duration (frame range):
1
Select a clip in your project.
2
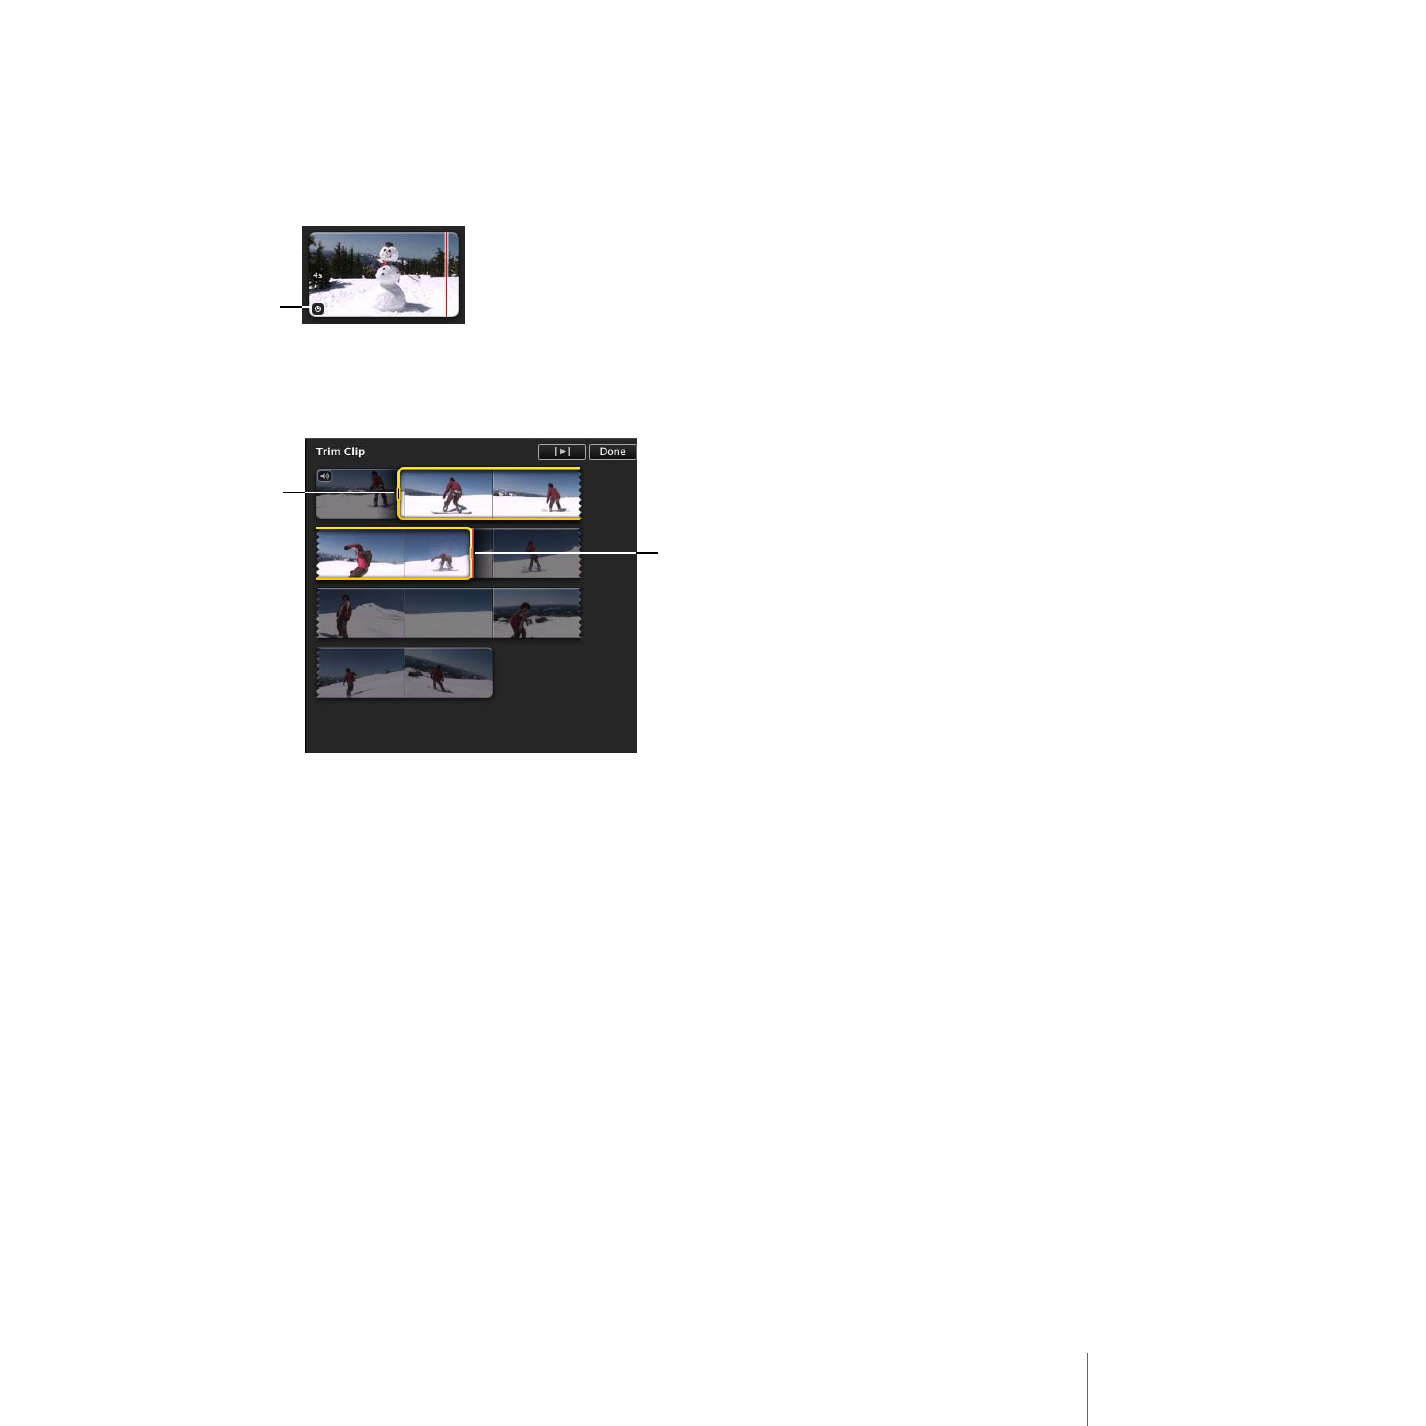
Choose Edit > Trim, or click the Clip Duration button in the corner at the beginning of
the clip (it appears if you rest the pointer over the clip and it looks like a clock).
The trimmer opens, displaying only the selected clip. The selection handles indicate the
clip’s startpoint and endpoint in your project.
3
To adjust the startpoint and endpoint of the clip, do one of the following:
 Drag the handles at the start or end of the selection.
 Hold down the Option key while pressing the Left Arrow or Right Arrow key to move
the selection startpoint or endpoint frame by frame. If the pointer is resting near the
start of the selection, the clip’s startpoint is adjusted; if the pointer is resting near the
end of the selection, the clip’s endpoint is adjusted.
 Press the Left Arrow or Right Arrow key to move the entire frame range selection to
the left or right, frame by frame.
4
To preview the changes, click the Play button in the trimmer, and when you like the
way it looks, click Done.
You can also quickly shorten or extend project clips one frame at a time, without
entering the trimmer.
Clip duration icon
Clip end handle
Clip start handle

38
Chapter 2
Learn iMovie
To adjust a clip’s duration, one frame at a time:
1
Move the pointer close to the end of the clip you want to adjust and then do one of
the following:
 Hold down the Command (x) and Option keys. When the orange selection handle
appears at the end of the clip, drag the selection handle right or left to extend or
reduce the clip duration by one-frame increments.
 Hold down the Option key while pressing the Left Arrow or Right Arrow key to
extend or reduce the clip duration by one-frame increments.
Adding Transitions Between Clips in Your Project
To add variety and interest to your iMovie project, you can insert transitions that
smooth the movement between video clips. For example, you can make the images
from the last frames of one clip fade into the first frames of the following clip, or you
can create the appearance that one scene is pushing the previous scene off the screen.
iMovie comes with several handsomely styled transitions that can add flair to your
project.