Publishing Directly to the Web
If you have a MobileMe account, you can publish your finished movie as soon as it’s
completed.
To publish your movie directly to your MobileMe Gallery:
1
Select your project in the Project Library, and then choose Share > MobileMe Gallery
2
Type a name for your movie in the Title field, and then enter a short description for
viewers to read in the Description field, if you want.
3
Select a publishing size to optimize the viewing experience for friends or family with
faster or slower Internet connections.
4
If you want viewers to be able to download copies of your movie, select “Allow movie
to be downloaded.”
5
If you want to limit who has permission to view your movie, select “Hide movie on my
Gallery home page.”
6
Click Publish. iMovie automatically uploads your movie to your MobileMe Gallery.
After the movie has been uploaded to your MobileMe Gallery, the title bar of the
project in iMovie displays “Published to MobileMe.” It also displays buttons that take
you to the movie’s webpage and sends notifications to your friends.
7
To visit your movie’s webpage, click Visit.
8
To notify your friends about the new movie you’ve published, click “Tell a friend.”
If you don’t have a MobileMe account, you can sign up for one at www.me.com. Or you
can publish your movie to YouTube.
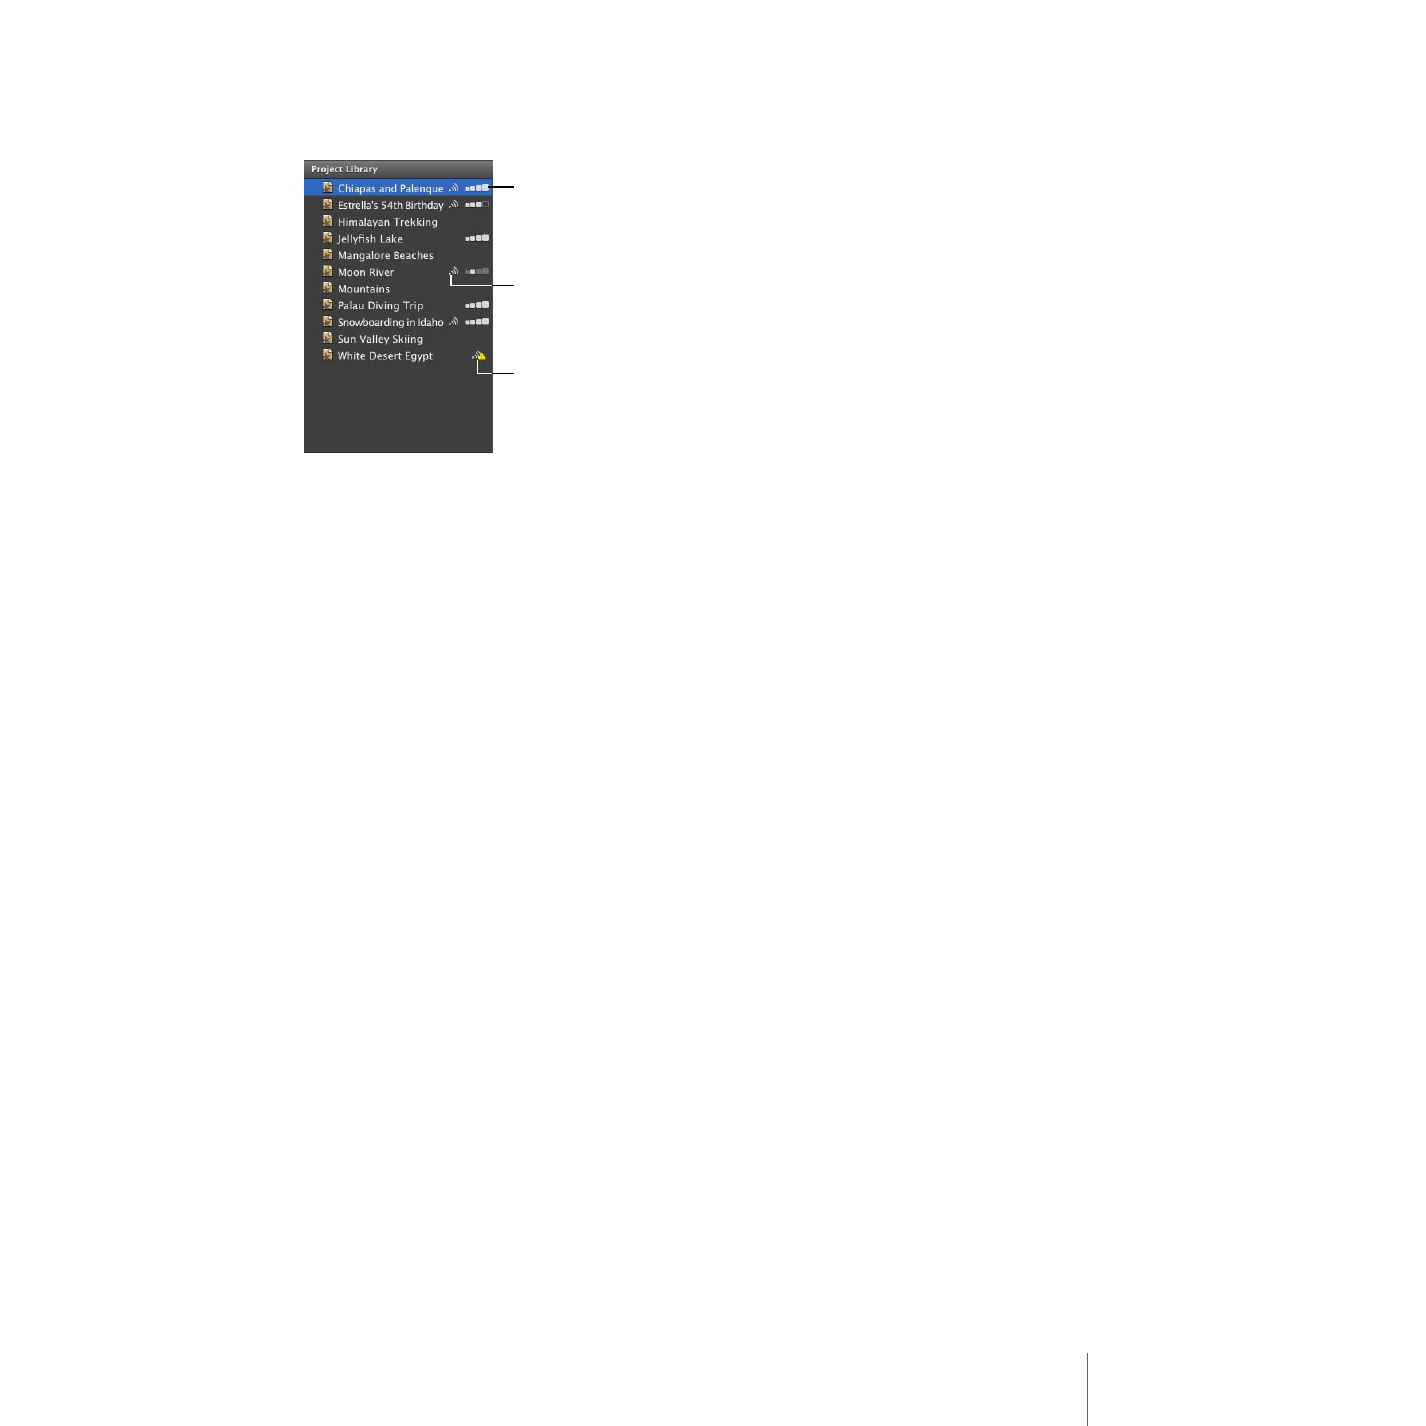
Indicates that the project
has been rendered in any
of the four sizes
Indicates that the project
has been published on
the web
Indicates that the project
has been altered since it was
last published on the web

48
Chapter 2
Learn iMovie
To publish your project to YouTube:
1
Select your project in the Project Library, and then choose Share > YouTube.
2
Choose your account from the Account pop-up menu.
If you don’t have a YouTube account, you can set one up by clicking Add and creating
an account on the YouTube website.
3
Type a name for your movie in the Title field and give it a short description that viewers
can read in the Description field.
4
Type keywords in the Tags field to help users find your movie if they search for it on the
YouTube website.
5
Select a size to publish. Medium is recommended.
6
If you don’t want your movie to be publicly available for viewing, select “Make this
movie private.”
7
Click Next, and then click Publish to accept the Terms of service offered by YouTube.
iMovie automatically uploads your movie to the YouTube website.
After the movie has been uploaded to the YouTube website, the title bar of the project
in iMovie displays “Published to YouTube.” It also displays buttons that take you to the
movie’s webpage and send notifications to your friends.
8
To visit your movie’s webpage, click Visit.
9
To notify your friends about the new movie you’ve published, click “Tell a friend.”
After your project has been published, an icon appears next to its name in the Project
Library to indicate its published status. If you want to edit your project again, iMovie
warns you that changing your project will make it different from the version you’ve
already published; an alert badge appears over the publish icon until you republish
your movie.

Chapter 2
Learn iMovie
49